In this tutorial we show how to install OpenSSH Server/Client in Windows.
This enables support for using cmd/Powershell or WSL(Windows Linux Subsystem) bash in WizardAssistant app.
How to check and install OpenSSH Server/client for Windows.
First, open an admin PowerShell prompt (Start menu, type PowerShell, hold ctrl+shift, and hit enter) type the below:
Get-WindowsCapability -Online | ? Name -like 'OpenSSH*'
It will most likely look like the below screenshot with one or both not installed.
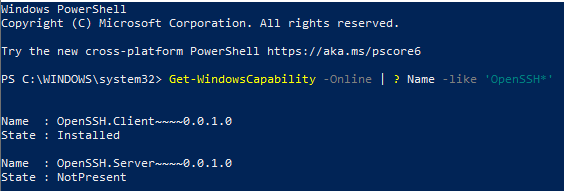
PS C:\WINDOWS\system32> Get-WindowsCapability -Online | ? Name -like 'OpenSSH*'

Name  : OpenSSH.Client~~~~0.0.1.0
State : Installed

Name  : OpenSSH.Server~~~~0.0.1.0
State : NotPresent

PS C:\WINDOWS\system32>
Notice how it only shows the OpenSSH Client and not the OpenSSH Server? Install OpenSSH Server:
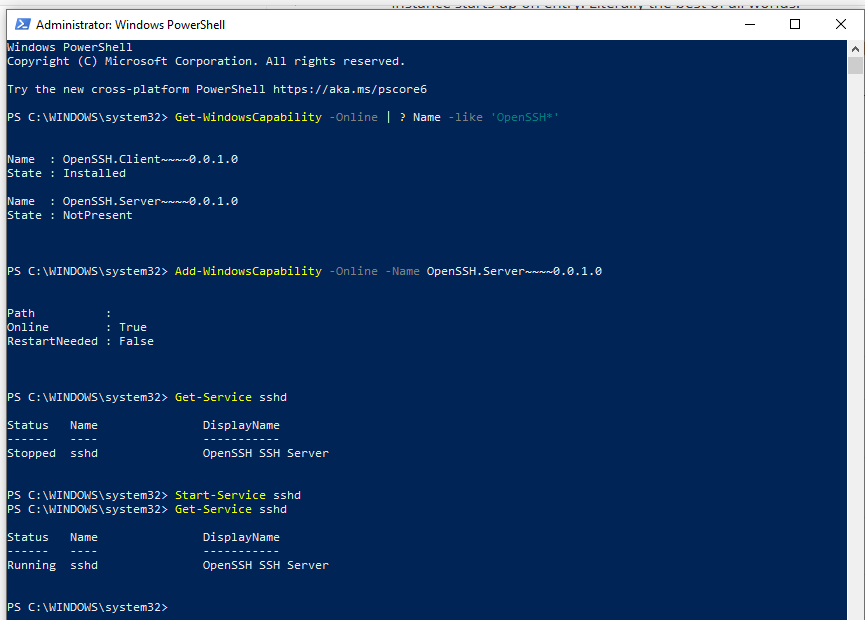
Add-WindowsCapability -Online -Name OpenSSH.Server~~~~0.0.1.0
If OpenSSH Client is also not installed you can install that as noted below.
Add-WindowsCapability -Online -Name OpenSSH.Client~~~~0.0.1.0
Now we need to start the sshd service for OpenSSH Server. This can be done manually like the below which starts and then checks the sshd server status.
Start-Service sshd
Get-Service sshd
Alternatively, it can also be setup to start automatically upon boot.
Set-Service -Name sshd -StartupType 'Automatic'
See the below screenshot for reference.
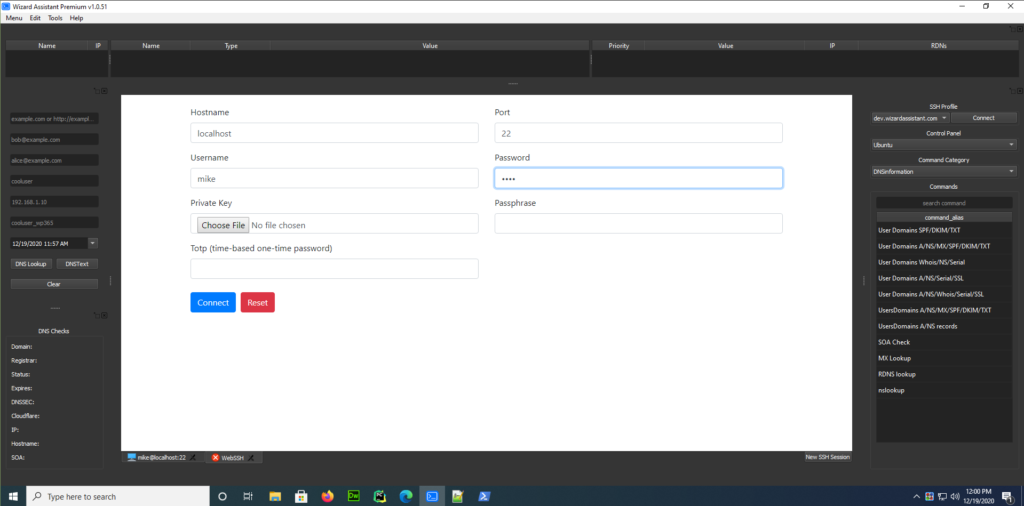
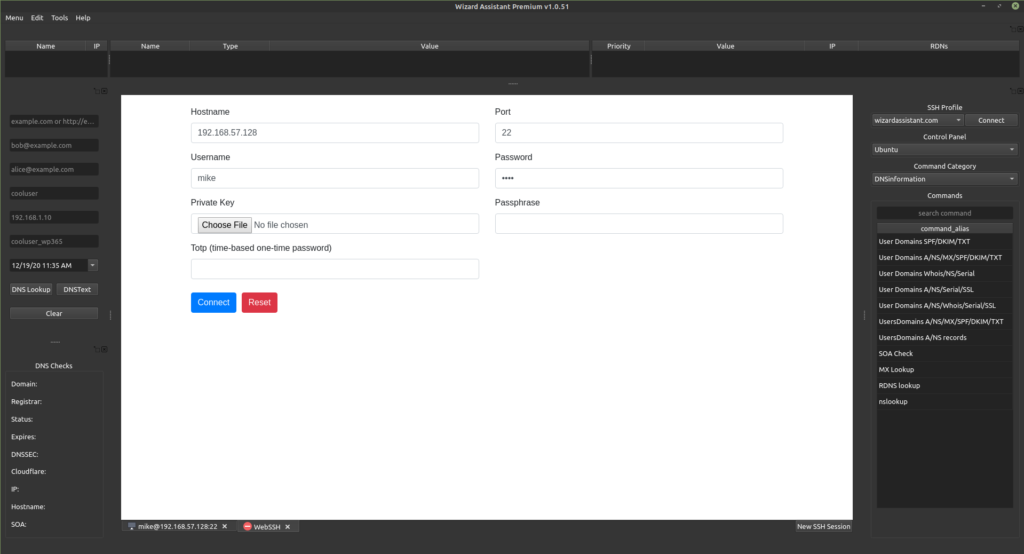
Now that we have it installed you can login to your Windows PC/Server via SSH with your Windows login username and information.
In my case lets say my login username is “mike” and my password is “somepassword”. From inside the Windows installation this can be used via “localhost” and port “22”.
See below screenshot:
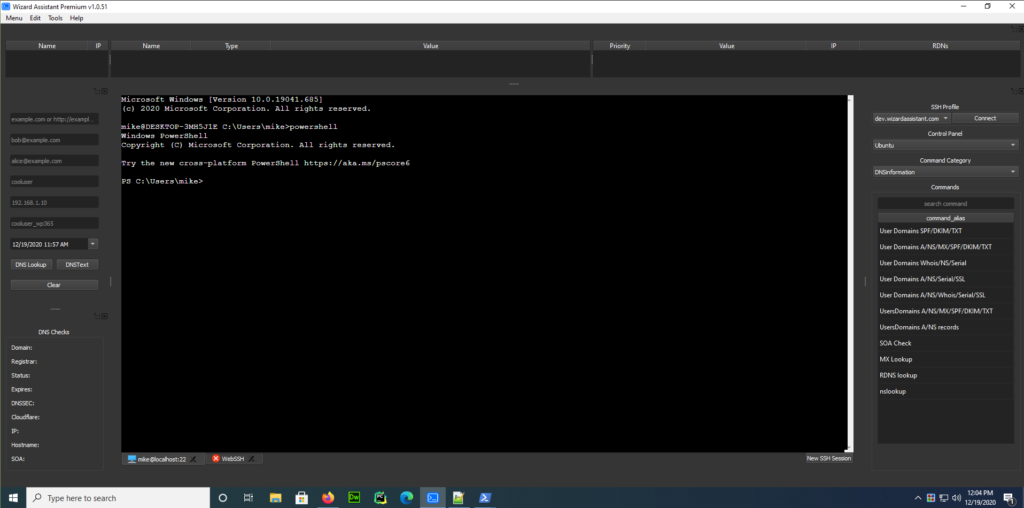
Once logged in by default it drops you into the default shell which usually is the cmd prompt like below.
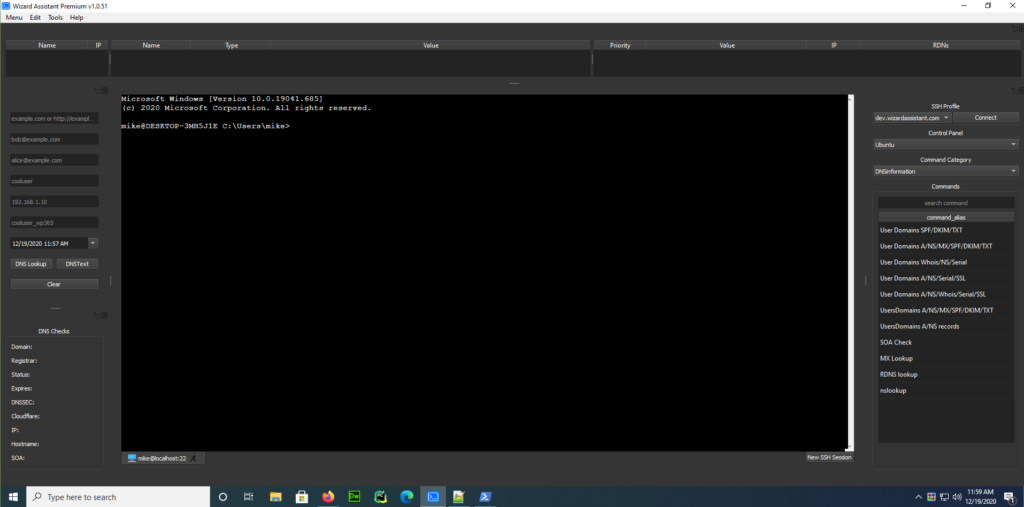
You can easily switch to powershell by typing “powershell” like the below.
Typing exit will drop you back to cmd or you can also switch back to cmd by typing “cmd”. If you have the Windows Linux Subsystem installed you can also type “bash” to switch to your current default linux’s bash.
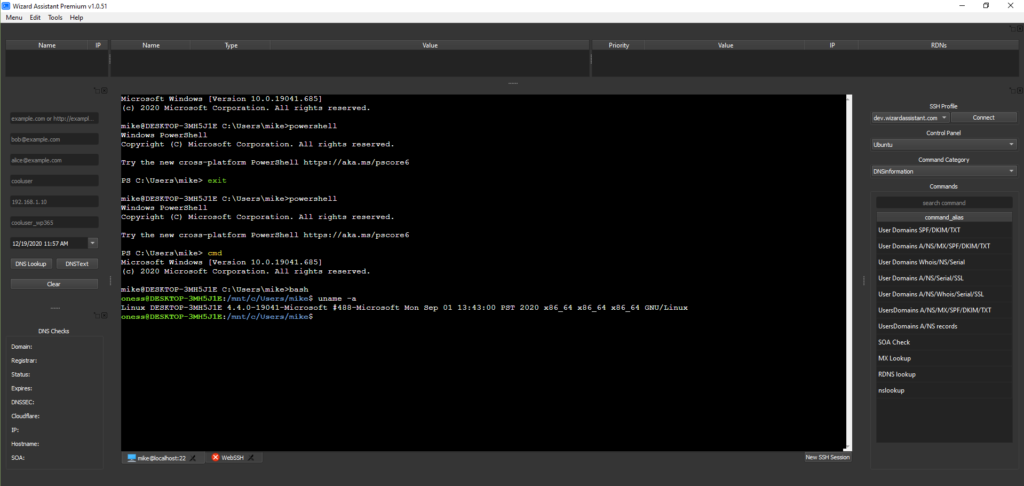
As you can probably see now this is allows for Windows sysadmins or powerusers to take full advantage of cmd/powershell right from the WizardAssistant application which supports every OS (Windows, Mac, and Linux) via SSH for any task or automation desired.
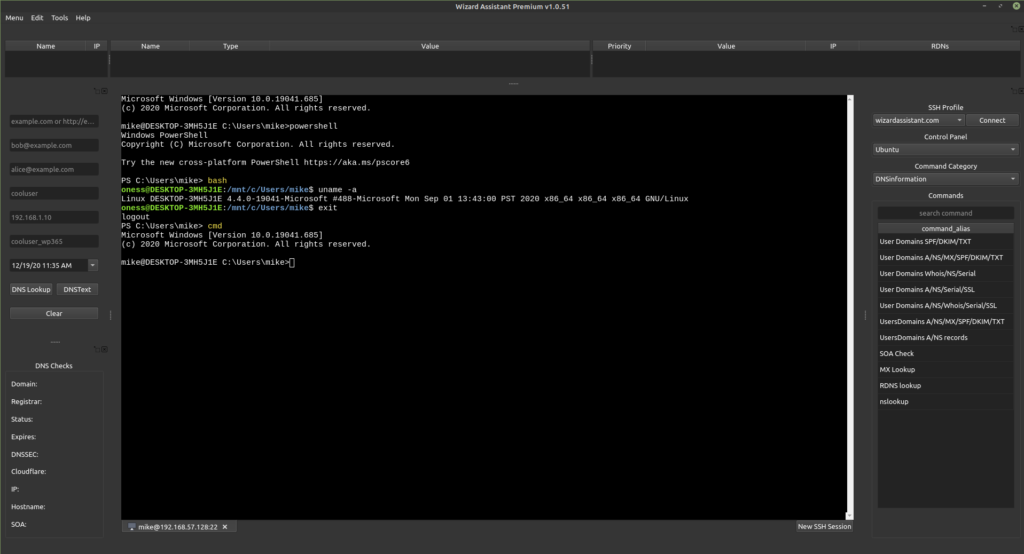
Whats also cool about this if you can SSH into this Windows installation from say a Linux or Mac system and still natively manage the Windows via the native command line. In the below screenshot you can see me logged into the Windows virtual machine from my default Mint Linux OS.

Reference links for more information and credits.
https://docs.microsoft.com/en-us/windows-server/administration/openssh/openssh_install_firstuse